This article is meant to serve two purposes. Fist tell you – from beginning to end – how to turn a Raspberry Pi, the tiny computer running Raspbian, into a HomeKit camera, that you can access using Apple’s Home app. This works for live streams or just stills.
The second reason for this article is reminding me how specific pieces are done. I keep forgetting specifics because I simply don’t have to do some steps on a regular basis or there are tiny details that I’m not 100 percent sure of. I won’t go too deep into Linux specifics, there are other (and better) places to learn about using the command line.
Step 1: Get a Raspberry Pi and the necessary peripherals
Currently the Raspberry Pi 4 is the most recent model available and is available in various combinations, for example from Amazon. So far I’ve only been using the Pi 3 Model B+ for my Homebridge needs. You can either just get the board (Amazon US*, DE*) or packages that come with a power supply, case, etc. (Amazon US*, DE*).
Second you need a microSD card. You can get away with a 16 or 32 GB model. I tend to stick with Sandisk cards (Amazon US*, DE*). I assume you have a way to use your Mac/PC to write to this card, in other words: you have a card reader.
And of course, since you’re building a camera, well, you need a camera. Again, there are plenty of options available that plug directly into the Raspberry Pi and do not use USB. In the past I went with the official camera module (Amazon US*, DE*). I have yet to try the night vision version of that camera.
Step 2: Get the OS and write it to the microSD card
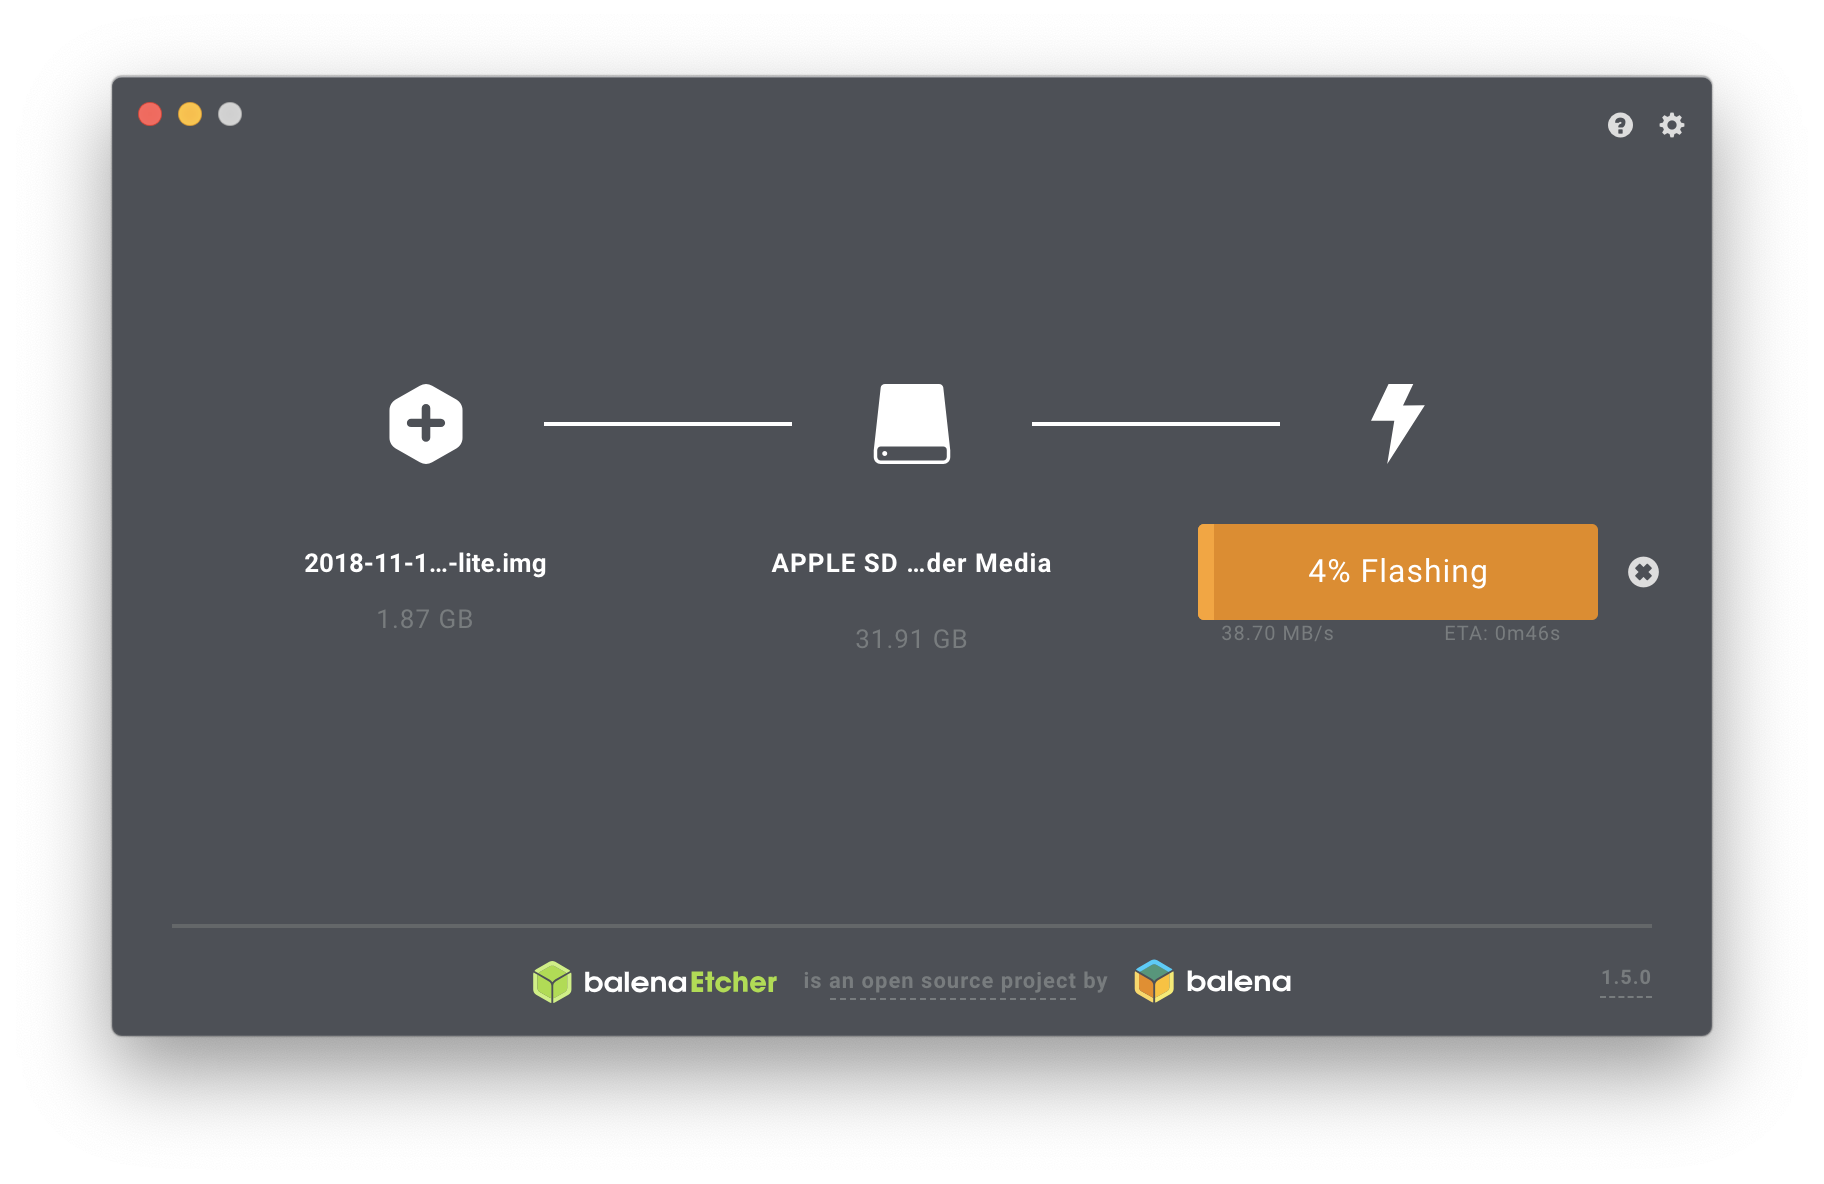
The OS I’m using most of the time is Raspbian. You can download it for free from their website. As you won’t be using the Pi as a desktop computer, you can just go ahead and get the small Lite version. You’ll also need some way to write this image of the OS to your microSD card. For this I use Etcher, but there are ways to do this using the command line.
Etcher is pretty self explanatory. You choose the downloaded and extracted image in the first step, then choose the microSD card/card reader that you inserted to your Mac and then hit „Flash!“ and wait a bit.
Step 3: Prepare Raspbian
I’m not going to plug a monitor or keyboard into my Pi (or use an Ethernet cable for that matter either). All it gets is power. It connects to my network using Wi-Fi and I’ll log into the Pi remotely via ssh. No display necessary.
For this we need to create two files on the boot partition that is created while writing the above image to your memory card. This partition is writeable by macOS (and Windows). The first one is a simple file called ssh (note the lack of a file extension, i.e. it’s not ssh.txt). This enables the sshd daemon so we can log in remotely.
This is how it looks on a Mac after opening a terminal (I prefer iTerm):
cd /Volumes/boot
touch ssh
The second file is called wpa_supplicant.conf. This file includes the follwing lines:
country=US
ctrl_interface=DIR=/var/run/wpa_supplicant GROUP=netdev
update_config=1

network={
    ssid="your ssid"
    psk="your password"
}
Obviously replace your SSID and password with your Wi-Fi credentials. You can create this using the wpa_passphrase tool. During boot this file will be used to configure the builtin Wi-Fi interface on the Pi. Alternatively you can of course just plug an ethernet cable into your Pi and make the setup a bit easier.
Now it’s time to eject the card and plug it into your Pi and boot it for the first time.
Step 4: Boot your Pi and do some initial maintenance
After powering up your Pi you’ll have to figure out its IP address. I’m using the interface for my Wi-Fi router to check for new devices. This gives you the address you’ll use ssh for to access the Pi remotely. The default hostname is raspberrypi.local, so this may also work instead of finding the IP address, but your mileage may vary.
ssh -lpi raspberrypi.local
The default user is pi with raspberry as its password. We’ll do something about that quickly. So after logging in I create a new user and give that user also the ability to become root. After checking I can login with that new user I delete the pi user, thus closing the potential security hole. Note that I don’t use password authentification with ssh after the very first login. So I add my public key to ~/.ssh/authorized_keys.
Alternatively you can of course continue to use the pi user but make sure to use passwd to change its password.
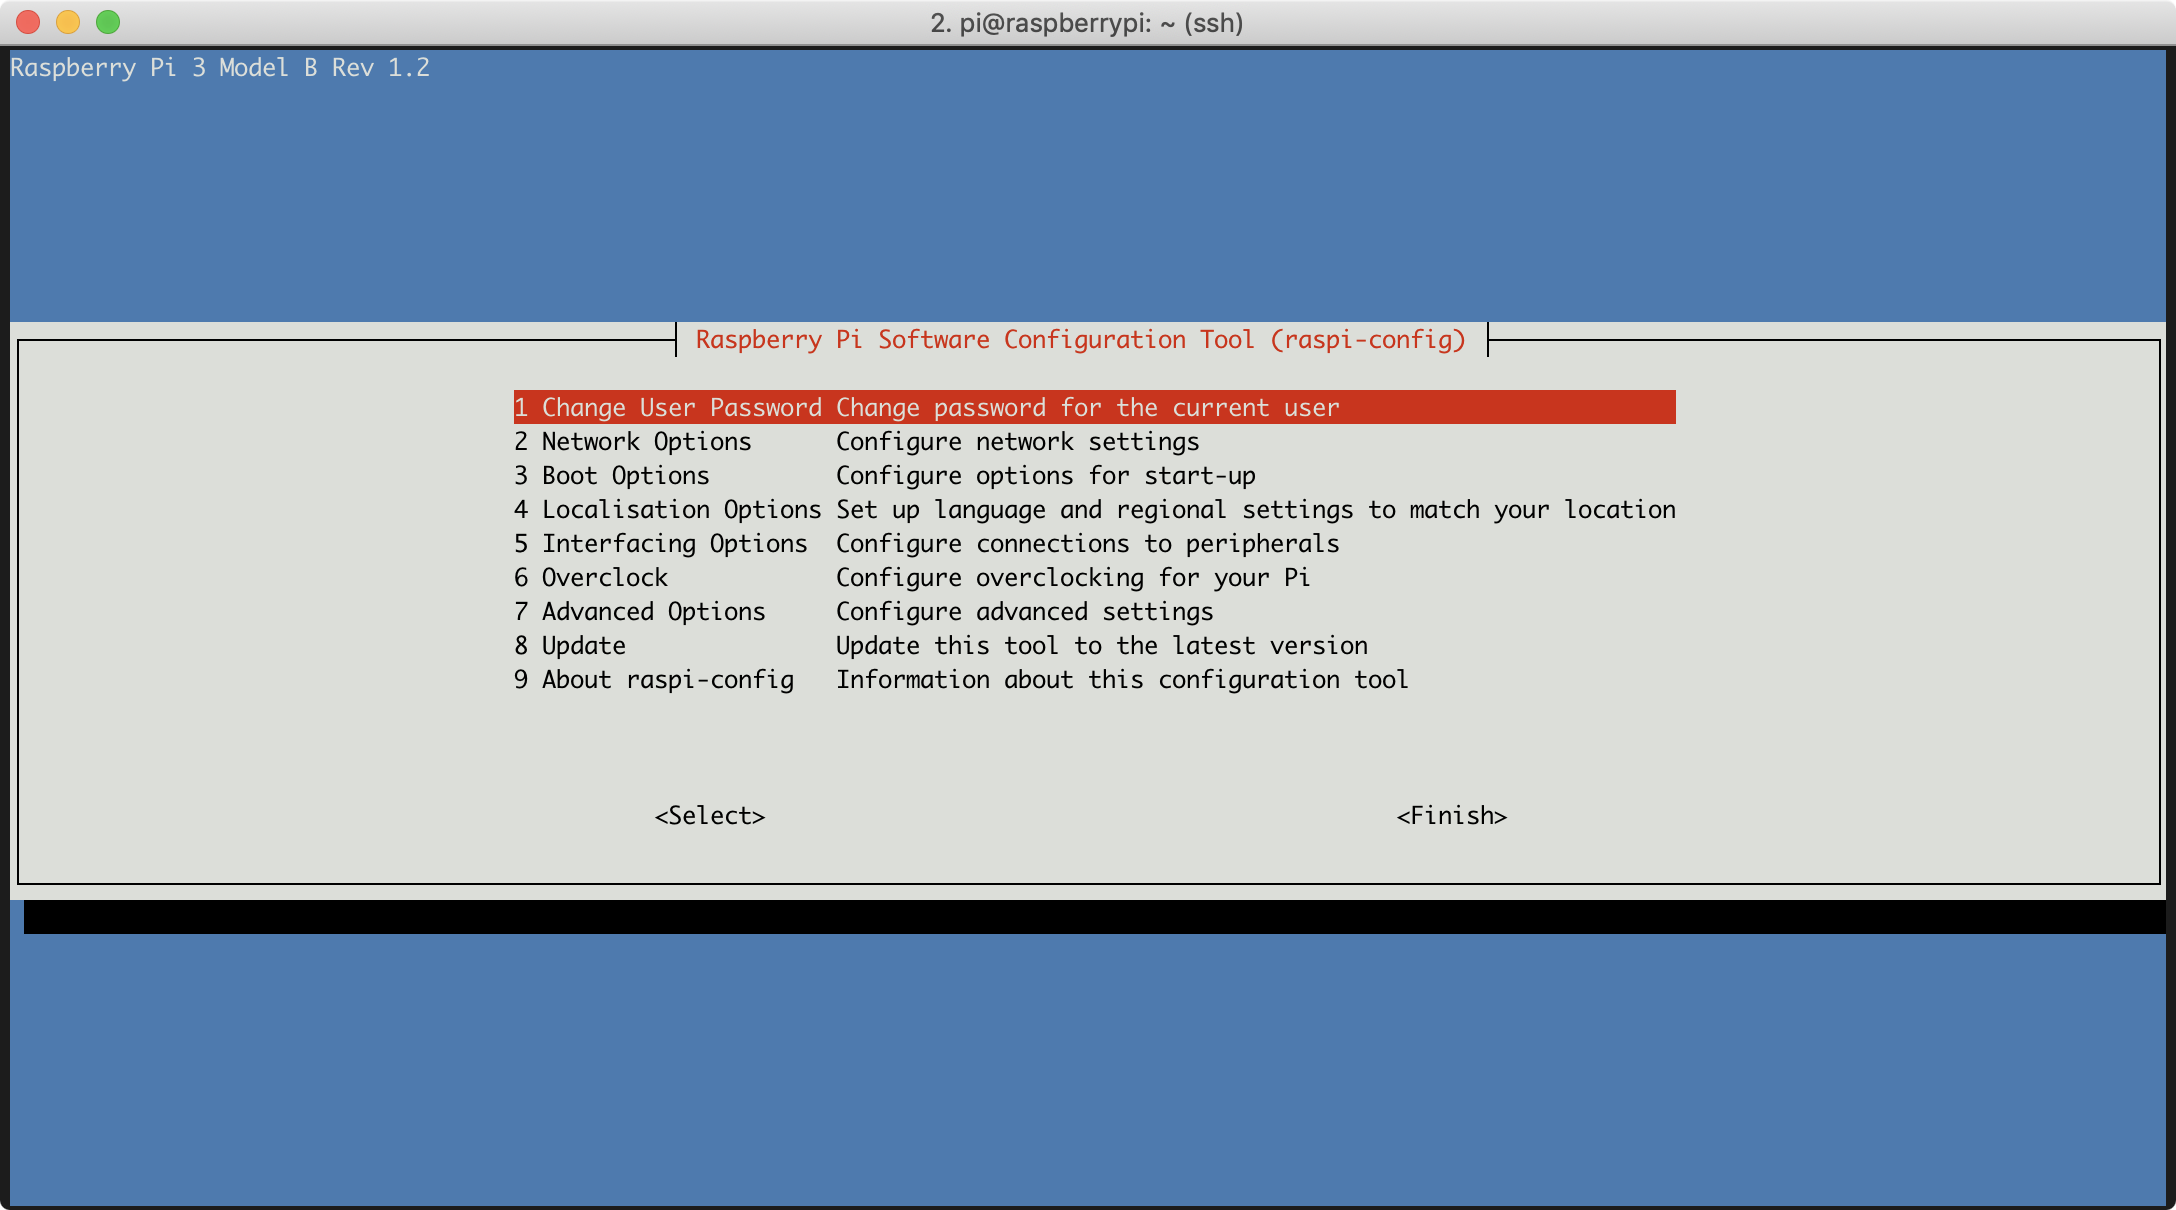
Now it’s time to bring the Pi up to date and change some things using raspi-config. But first run apt-get to make sure everything is current:
apt-get update -y && apt-get -y dist-upgrade
Using raspi-config you’ll want to do a couple of things. First, in Advanced Settings expand the filesystem to use the whole memory card. Here I also usually adjust the memory split to give the GPU only 16 GB of RAM. In Interfacing Options I enable the camera. You might also change the hostname to something you like. After this another reboot is necessary.
Step 5: Make sure your camera works
After the Pi is back up you’ll want to check that the camera works as expected. There’s a small tool called raspistill which will create a jpg if you ask nicely. At first you’ll get an error when you’re not running it as root:
raspistill
* failed to open vchiq instance
To be able to run it as the new user you’ll need to give yourself the necessary permissions by adding yourself to the video group like this:
sudo usermod -a -G video $(whoami)
You’ll have to log out and back in to be able to create a still image like this:
raspistill -o out.jpg
You’ll have an image out.jpg which you can scp back to your computer to open and check out.
Step 5: Install Homebridge and dependencies
Now that we have a basic Raspberry Pi setup that can take photos, it’s time to add Homebridge, the application that actually, well, creates a bridge between the Pi and Apples HomeKit. To do this, first we’ll need to install nodejs. With Node.js v11.x, this looks something like this:
curl -sL https://deb.nodesource.com/setup_11.x | sudo -E bash -
sudo apt-get install -y nodejs
Homebridge then has some other dependencies, so here goes:
sudo apt-get install -y libavahi-compat-libdnssd-dev
Finally, lets install Homebridge:
sudo npm install -g --unsafe-perm homebridge
If all went well you’ll be able to run homebridge (with a message telling you, you don’t have any plugins installed, which is fine for now):
homebridge
No plugins found. See the README for information on installing plugins.
You’ll get a code that you can use to add your Pi, the bridge, to your Home.app. The default code is 031-45-154 which you might want to change using the configuration file found in ~/.homebridge/config.json.
It might look something like this:
{
  "bridge": {
    "name": "Homebridge",
    "username": "DE:AD:C0:FF:EE:00",
    "pin": "123-34-567",
    "port": "42920"
  },
  "description": "Your homebridge",
  "platforms": [
  ],
  "accessories": [
  ]
}
Next, we’ll work on that homebridge-camera plugin we’ve all been waiting for.
Note: Here’s also a way to have homebridge start automatically during boot. I’ve had issues with this in the past, for some reason requiring a manual restart of the service. My Pi runs 24/7 so (not) having it automatically launch after a reboot isn’t a huge issue for me.
Step 6: Install homebridge-camera
Khaos Tian was nice enough to write a plugin for homebridge that turns a Pi into a cheap network camera. It’s aptly called homebridge-camera-ffmpeg. The wiki has some hints how to install the required ffmpeg to enable streaming video from your Pi:
# install build tools
sudo apt-get install -y git pkg-config autoconf automake libtool libx264-dev

# download and build fdk-aac
git clone https://github.com/mstorsjo/fdk-aac.git
cd fdk-aac
./autogen.sh
./configure --prefix=/usr/local --enable-shared --enable-static
make -j4
sudo make install
sudo ldconfig
cd ..

# download and build ffmpeg
git clone https://github.com/FFmpeg/FFmpeg.git
cd FFmpeg
./configure --prefix=/usr/local --arch=armel --target-os=linux --enable-omx-rpi --enable-nonfree --enable-gpl --enable-libfdk-aac --enable-mmal --enable-libx264 --enable-decoder=h264 --enable-network --enable-protocol=tcp --enable-demuxer=rtsp
make -j4
sudo make install
This will take a while so go get a coffee and a snack and come back in 15.
Next up, install homebridge-camera-ffmpeg:
sudo npm install -g homebridge-camera-ffmpeg
Thankfully someone already has a sample config to add to Homebridge’s config.json:
{
  "bridge": {
    "name": "Homebridge",
    "username": "DE:AD:C0:FF:EE:00",
    "pin": "123-34-567",
    "port": "42920"
  },
  "description": "Your homebridge",
  "platforms": [
    {
      "platform": "Camera-ffmpeg",
      "cameras": [
        {
          "name": "piCam",
          "uploader": false,
          "videoConfig": {
              "source": "-re -f video4linux2 -i /dev/video0",
              "stillImageSource": "-re -f video4linux2 -ss 0.9 -i /dev/video0 -vframes 1",
              "maxStreams": 2,
              "maxWidth": 1920,
              "maxHeight": 1080,
              "maxFPS": 30,
              "vcodec": "h264_omx"
          }
        }
      ]
    }
  ],
  "accessories": [
  ]
}
If you get an error about /dev/video0 missing, give this a try:
sudo modprobe bcm2835-v4l2
And add bcm2835-v4l2 as a new line to /etc/modules so it automatically appears after reboot.
Whew. After adjusting your config and starting homebridge, you should be able to see the new accessory in the Home app on your iOS device.
Update 1: This is how you disable the power and status LED, helpful for example, when it reflects in a window:
# Turn off the action LED
sudo sh -c 'echo 0 > /sys/class/leds/led0/brightness'

# Turn off the power LED
sudo sh -c 'echo 0 > /sys/class/leds/led1/brightness'
This post includes affiliate links to Amazon