There are multiple situations where a VPN server can come in handy. For example: you’re in a hotel and want to be sure nobody is sniffing your packets. Amazon has given us a great base system to build on: the Elastic Compute Cloud, or just EC2.  I set up a server for another basic need: free speech. I hope this small howto, that in no way is meant to be complete or fool proof, will give those in need a way to get the news out! You can find the Getting Started Guide for Amazon’s EC2 over here. There’s also a web-based administration console if you don’t want to use the command line tools.
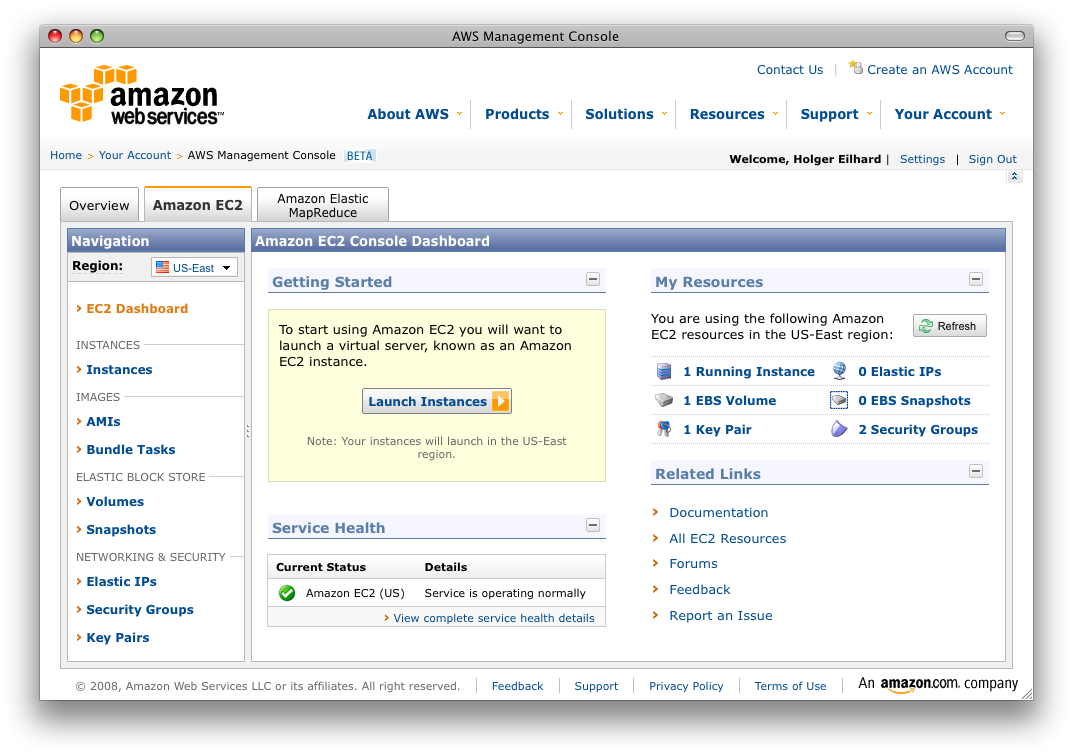
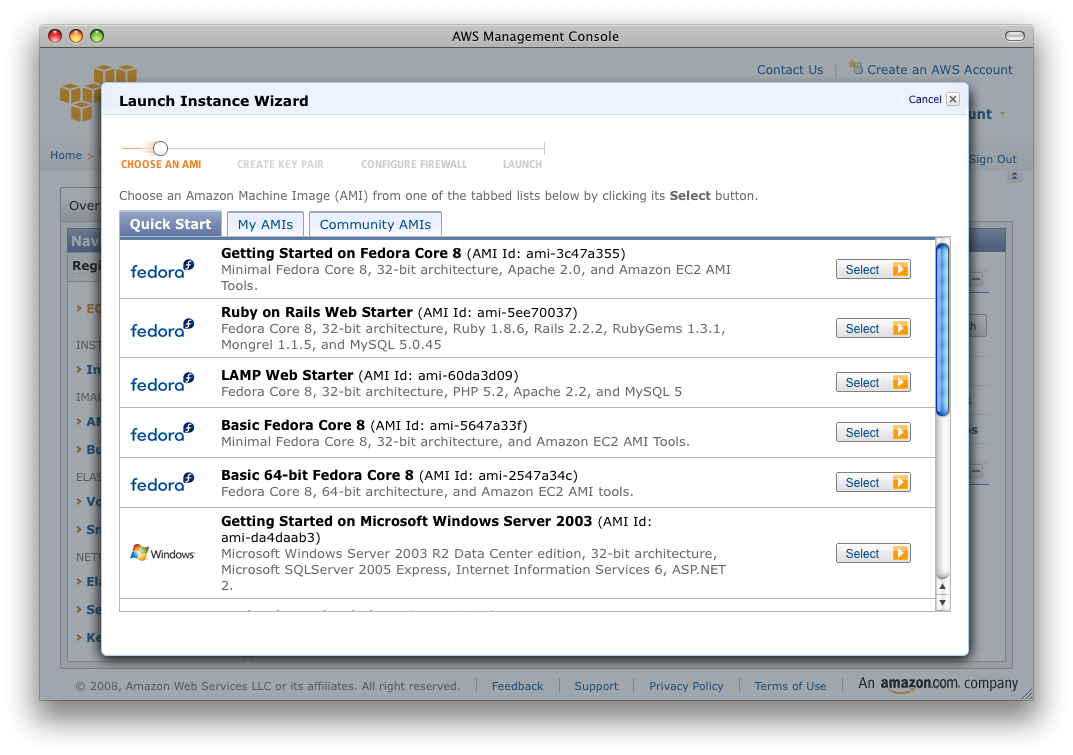
Setting up the server I’ll be using the basic Fedora Core 8 (AMI Id:
ami-3c47a355) in this example. Of course you can use whatever linux image you want, but the commands I’m using might differ, so YMMV. First thing I did was get all the recent system updates: yum update Say yes when you’re asked to install the updates. Now you have to install openvpn itself: yum install openvpn Again, say yes when asked to install. The configuration files for OpenVPN go to /etc/openvpn. Now, in my case I created the server for someone in Iran, so they could get around the blocked. The person had problems with using a certificate to authenticate so we had to go with a preshared key. You create the needed key file with: openvpn --genkey --secret /etc/openvpn/openvpn-key.txt Securely copy this file over to the client machine that will access the server, e.g. using scp. The main configuration file is in /etc/openvpn/openvpn.conf. My config looks as follows: port 1194 Finally you have to (re)start the openvpn server by entering the following command:
proto udp
dev tun
secret openvpn-key.txt
ifconfig 192.168.2.1 192.168.2.2
keepalive 10 120
comp-lzo<br />
persist-key
persist-tun
status server-tcp.log
verb 3service openvpn restart 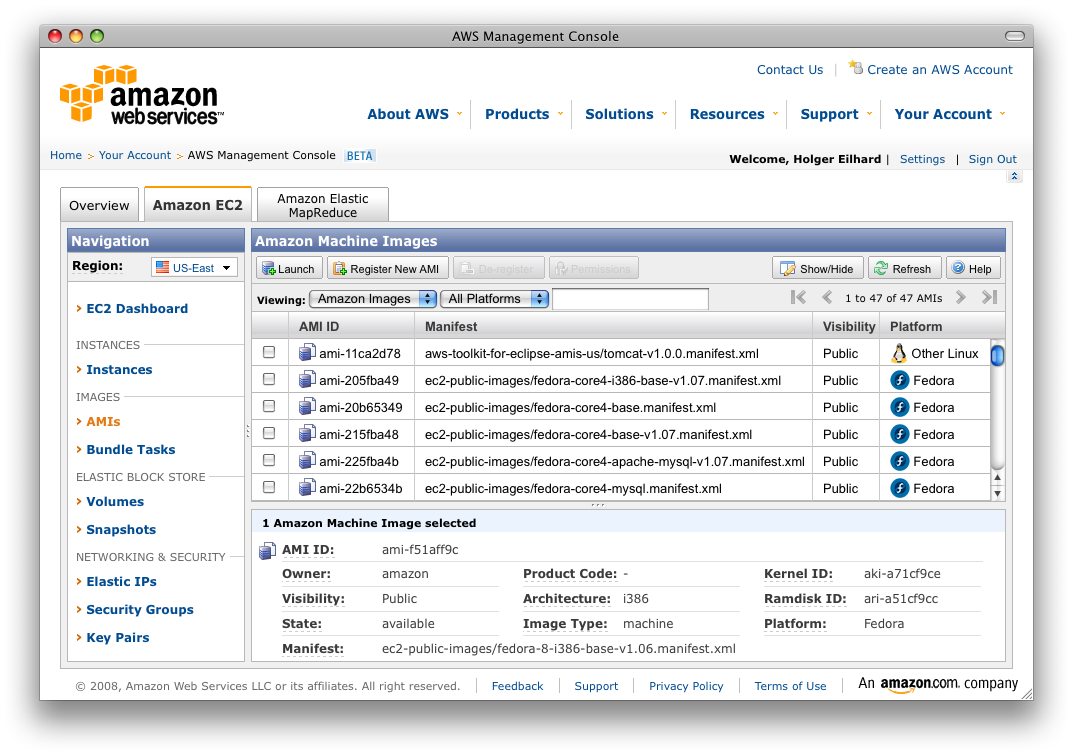
The client side For Windows I was using openvpn including the GUI, that you can find
here. For Mac OS X you can use Tunnelblick. Both have the ability to use more than a single VPN configuration. This way you could for example set up a VPN server in the US and EU. Here are the Windows instructions (which are basically identical to those of Tunnelblick). Get the secrets file (openvpn-key.txt) and move it to the openvpn/config directory on your PC. Along with that file you need the actual configuration file, the file extension has to be .ovpn. So for example use AmazonEC2.ovpn. My config includes the following: dev tun After this has been done, you have to allow incoming packets for the port and protocol. These can be configured in the Amazon AWS Management Console under “Security Groups”. In my example I’m using Port 1194/udp. You have to see if these ports are accessible from your client, which usually is the case, but if your provider (or government) decides to block this, you have to set matching alternatives on the server, client and the Management Console.
proto udp
remote INSERT-YOUR-COMPLETE-PUBLIC-EC2-HOSTNAME-HERE 1194
resolv-retry infinite
nobind
secret openvpn-key.txt
ifconfig 192.168.2.2 192.168.2.1
comp-lzo
verb 3
dhcp-option DNS 172.16.0.23
redirect-gateway def1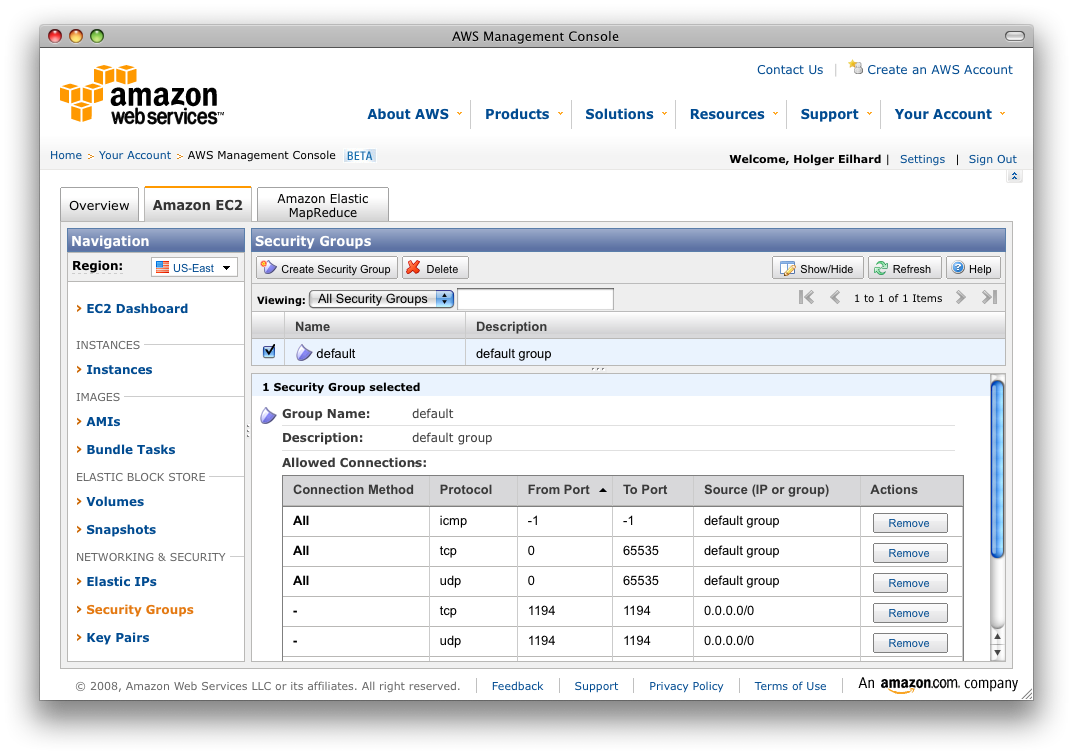 Now, after all files have been created and you set up the Amazon security group you should be able to connect to the VPN server. But you’ll notice that you are not able to access the internet just yet. The traffic goes to the Amazon host but it can’t get any further. For this you need to enable masquerading and IP forwarding on the server. So, it’s back to the command line once again. Change the directory /etc/sysconfig and edit – or if necessary create – a file called iptables, which includes the firewall configuration. For the basic needs it’s enough to enable masquerading using the following lines:
 *nat Reload the firewall and make it start on boot by entering:
:POSTROUTING ACCEPT [0:0]
:PREROUTING ACCEPT [0:0]
:OUTPUT ACCEPT [0:0]
-A POSTROUTING -s 192.168.2.0/24 -d 0.0.0.0/0 -o eth0 -j MASQUERADE
COMMITservice iptables restart The last thing before you get traffic accross the net through the VPN is to enable IP forwarding in the initialization file for openvpn. This is found in /etc/init.d/openvpn. On line 121 you find a commented command that reads:
chkconfig iptables on#echo 1 > /proc/sys/net/ipv4/ip_forward Remove the ‘#’ so it only reads: echo 1 > /proc/sys/net/ipv4/ip_forward Restart the openvpn once again and make it start upon boot by entering: service openvpn restart Now, you should be able to access the internet through the VPN. Try opening your favorite browser and go to a website. To check if the traffic actually goes through the EC2 host you can tap into the data stream by entering the following on the server:
chkconfig openvpn ontcpdump dst port 80 or src port 80 This will show any traffic that goes in or out over port 80. You’ll see something like this (I used google.com in this example): tcpdump: verbose output suppressed, use -v or -vv for full protocol decode At this point you’re basically golden and have a working VPN.
listening on eth0, link-type EN10MB (Ethernet), capture size 96 bytes
16:00:58.931975 IP domU-12-31-39-04-51-13.compute-1.internal.exbit-escp > he-in-f147.google.com.http: S 683836316:683836316(0) win 64240 <mss 1365,nop,nop,sackOK>
16:00:58.934843 IP he-in-f147.google.com.http > domU-12-31-39-04-51-13.compute-1.internal.exbit-escp: S 4130254439:4130254439(0) ack 683836317 win 5720 </mss><mss 1430,nop,nop,sackOK>
16:00:59.041912 IP domU-12-31-39-04-51-13.compute-1.internal.exbit-escp > he-in-f147.google.com.http: . ack 1 win 64240
16:00:59.046925 IP domU-12-31-39-04-51-13.compute-1.internal.exbit-escp > he-in-f147.google.com.http: P 1:499(498) ack 1 win 64240
16:00:59.049763 IP he-in-f147.google.com.http > domU-12-31-39-04-51-13.compute-1.internal.exbit-escp: . ack 499 win 6432</mss>
One more thing (okay, actually two) Now, two things that might happen to you is that you a) don’t want to change your client config to match the remote hostname which usually changes when you terminate (shutdown) your EC2 instance and b) don’t want to make all these changes between termating your instances.
 Point a) is pretty simple to accomplish: get yourself a dynamic DNS for example at dyndns.com and a program that automatically runs when you boot the instance. For FC8 there’s a tool called inadyn. Again install it using yum and make it start during bootup with:
 yum -y install inadyn The configuration is found in /etc/inadyn.conf. It’s pretty much self-describing. Enter your credentials that you used at dyndns and enter your chosen hostname and finally start the service:
chkconfig inadyn onservice inadyn start Within a matter of seconds you should be able to access your host via the dynamic DNS hostname. Point b) requires a bit more work. Remember that once you terminate an EC2 instance you will lose any changes that you’ve made to it. So you’ll want to create your own AMI. How you do that is described in Amazon’s Getting Started Guide. Create your instance only after you are sure to have a working setup. When you’re done with these steps, you have a openvpn server that you can boot whenever you need it. Remember that a running instance will cost you at least 0.10 USD per hour, even if it’s doing nothing! Make sure you terminate it when you do not need it. I’m sure this guide is incomplete and the VPN setup can be optimized but I wrote it basically within 30 minutes. If you find anything wrong that shouldn’t be in here let me know in the comments. Thanks!